Bắt đầu
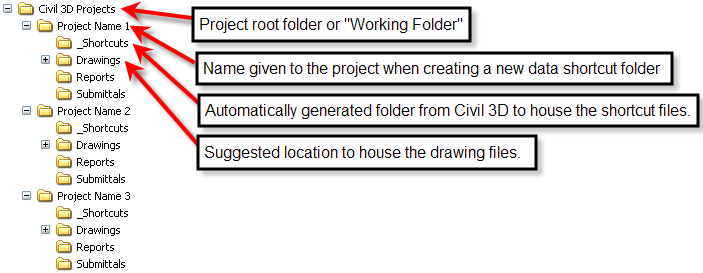
Initially the company should come up with a directory structure to house the drawing files. The simplest directory structure would be a single project folder with each project under this main folder. See below for a better explanation.
1. Set the Working Folder
This should be the root folder of the project structure. In the example above, it should be the folder called “Civil 3D Projects”.
2. Create New Civil 3D Data Shortcuts Project Folder
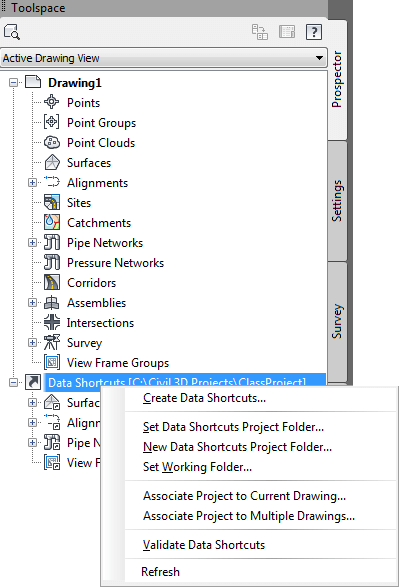
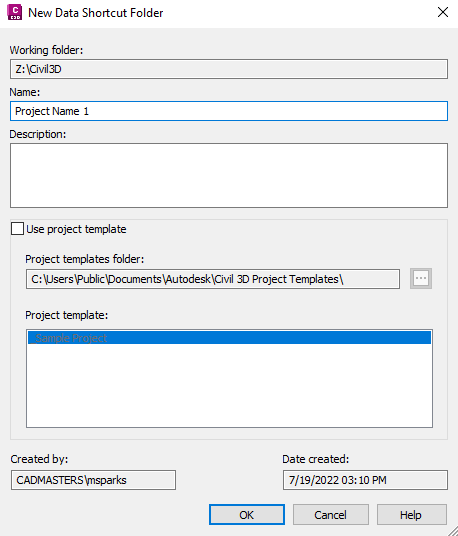
Right-click “Data Shortcuts” > New Data Shortcuts Project Folder. When naming the project, the folder will automatically be created if it does not exist.
3. Create New Data Shortcuts
Right-click “Data Shortcuts” > Create Data Shortcuts
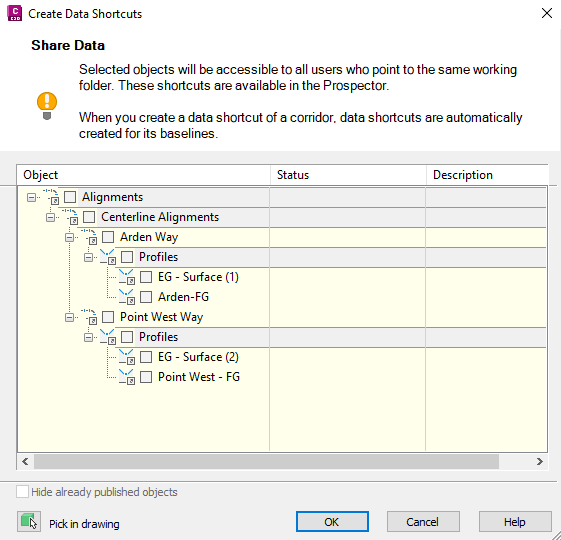
Once the data has been added to the project, they can be accessed from any other drawing. Simply open the drawing you wish to reference the object, and then right-click the object in the prospector and create reference. You can also drag the shortcut in from the Prospector.
Other Notes
Synchronizing References
To synchronize any reference, right-click on the object in the prospector.
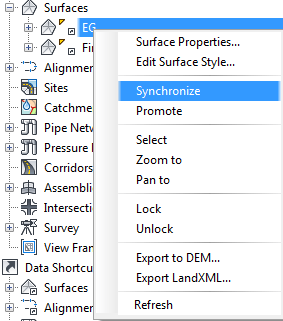
Promoting References
Promoting a reference duplicates the object into the current drawing and disconnects the link from the source drawing. This process can be equated to binding an XREF.
Editing & Changing Paths
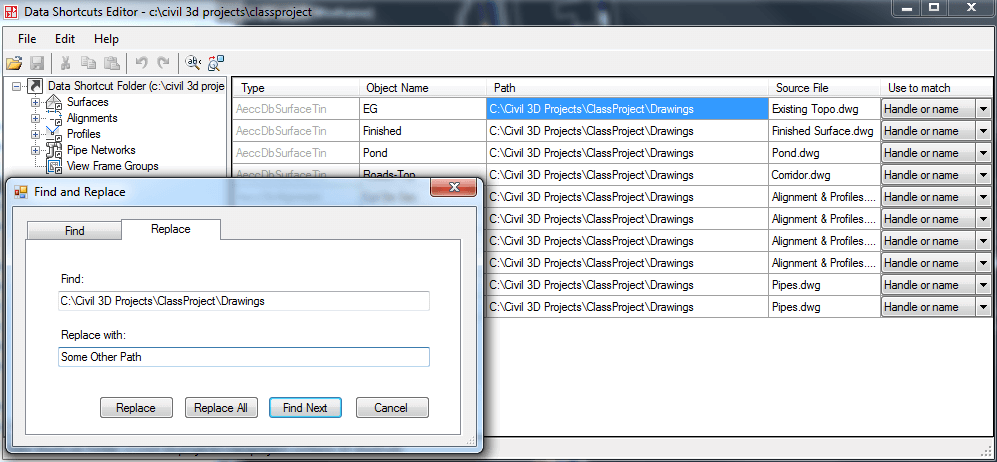
For editing and changing the paths of data references, Autodesk provides an external program for mass edits located here… Start > All Programs > Autodesk > Autodesk AutoCAD Civil 3D 202x > Data Shortcut Editor.


0 Nhận xét